DogEars - Benchmarking Performance in Premiere Pro

Like the Quesarito at Taco Bell, DogEars is a hidden menu item in Premiere Pro.
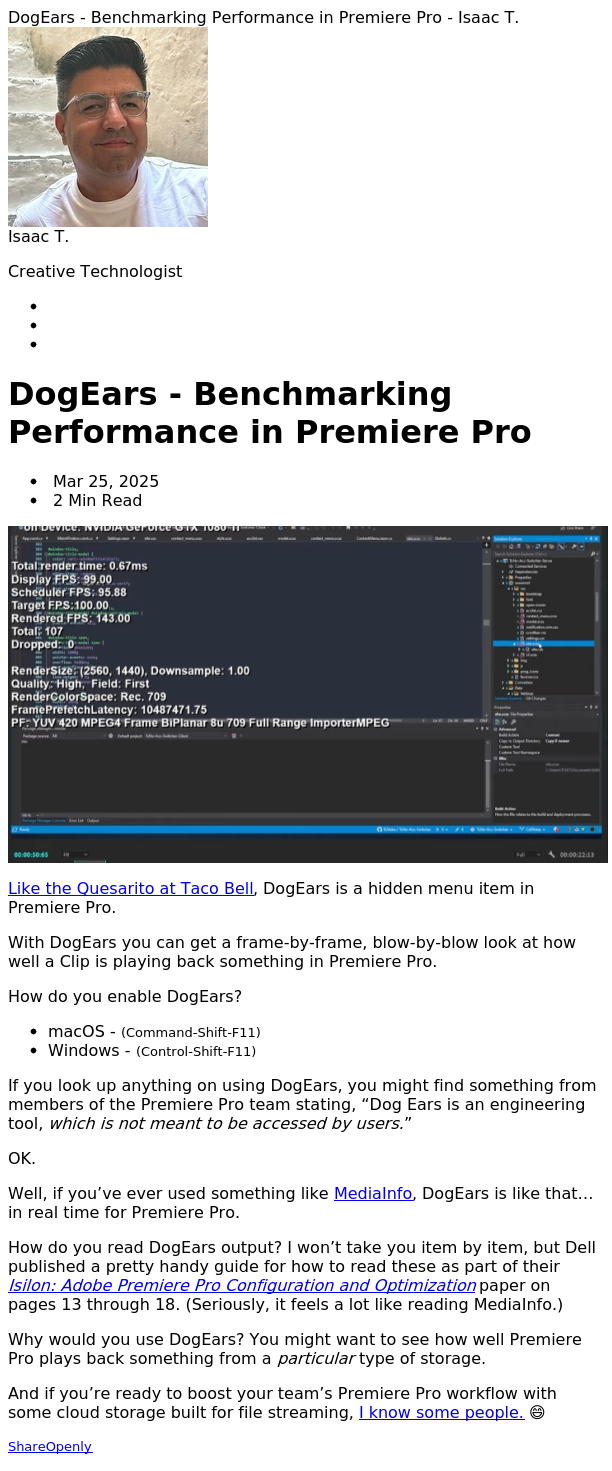
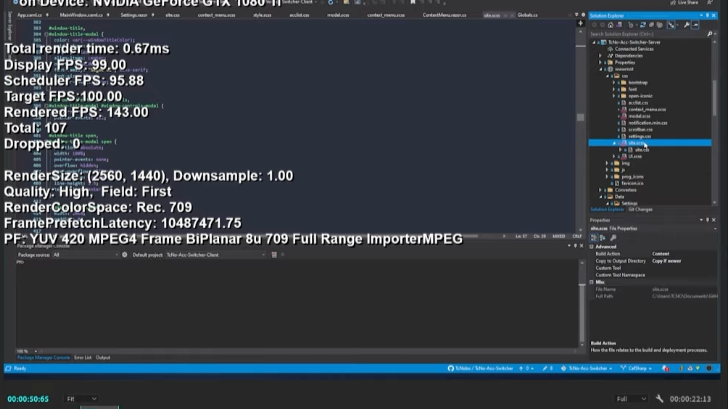
With DogEars you can get a frame-by-frame, blow-by-blow look at how well a Clip is playing back something in Premiere Pro.
How do you enable DogEars?
- macOS -
(Command-Shift-Fn-F11)or just(Command-Shift-F11) - Windows -
(Control-Shift-F11)
You can also enable DogEars by:
- Invoking Premiere Pro’s Console (
Command-Fn-F12orControl-F12). - Clicking the hamburger menu next to
Consoleand chooseDebug Database View. - Search for
DogEars. - Click the ☑️ next to
EnableDogEarsso the value turns totrue.
Once you enable DogEars, press Spacebar or the play button for a Clip or in your Sequence and Premiere Pro will display those playback statistics on top of what you’re currently playing.
💡Premiere Pro will only reveal those statistics from DogEars once you press
Spacebaror the play button. Conversely, if you disable DogEars, Premiere Pro only hides those stats once you pressSpacebaror ▶️.
If you look up anything on using DogEars, you might find something from members of the Premiere Pro team stating, “Dog Ears is an engineering tool, which is not meant to be accessed by users.”
OK.
Well, if you’ve ever used something like MediaInfo, DogEars is like that… in real time for Premiere Pro.
How do you read DogEars output? I won’t take you item by item, but Dell published a pretty handy guide for how to read these as part of their Isilon: Adobe Premiere Pro Configuration and Optimization paper on pages 13 through 18. (Seriously, it feels a lot like reading MediaInfo.)
Why would you use DogEars? You might want to see how well Premiere Pro plays back something from a particular type of storage.
And if you’re ready to boost your team’s Premiere Pro workflow with some cloud storage built for file streaming, I know some people. 😄